Ecco Light Bar Controller Instructions

Phopollo Led Strip Lights 32 8ft Rgb Color Changing Led Lights Strip 5050 Flexible Led Tape Li In 2020 Led Strip Lighting Led Color Changing Lights Led Tape Lighting
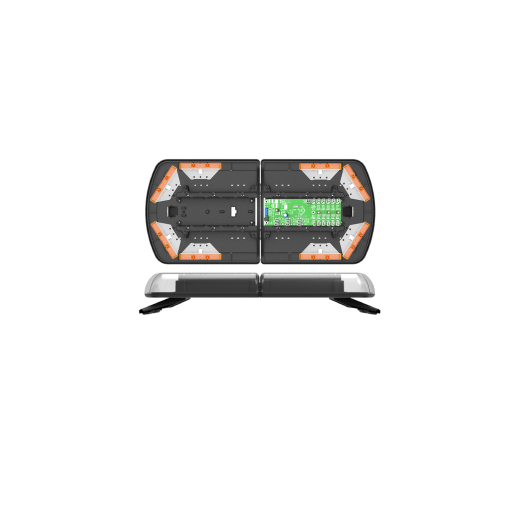
12 Series Lightbar Ecco

Ecco 5565 Series Led Mini Lightbars Now On Special Offer Dun Bri Services Ltd

Axios Ez1405 Controller Youtube

10 Awesome Ways To Reinvent Your Old Appliances Old Washing Machine Washing Machine Drum Washer Drum

Hella Conversion Bst Slim Warning Light Youtube
With the feet positioned remove the adjustable foot cover and mark the location of the mounting hole centers on the roof of the vehicle.
Ecco light bar controller instructions.

Rvl Opticmax Led Lightbar 4 Bolt 12 24v Ece R65 1200mm

Shares Of Our World Animal Flowers Nature Travel Pictures Photography Fashion Auto Architecture Art Wooden Lamps Design Wooden Lamp Wooden Diy

Diy Optic Fiber Light Kit Led Light Engine Optical Fiber Twinkle Star Sky Ceiling Light 32w Rgb Ir Remo Fiber Optic Lighting Fibre Optics Fiber Optic Ceiling

Arduino Nano Show Date Time From Ds1307 Real Time Clock Rtc On I2c 2 X 16 Lcd Display With Visuino Arduino Visuino Arduino
Radion G5 Ecotech Marine

Solarmate 1000 Lumen Arena Flood Light Smal001 Pb Auto Electrics Commercial Leisure Products

Z 3y7fpnjobikm

Custom Poker Tables Custom Poker Tables With Lights Custom Poker Tables Poker Table Pc Gaming Setup

World Map Atlas Nautical Light Switch Covers Outlet Covers By Debbiescraftcorners On Etsy Https Www Etsy Nautical Lighting Light Switch Covers Light Switch

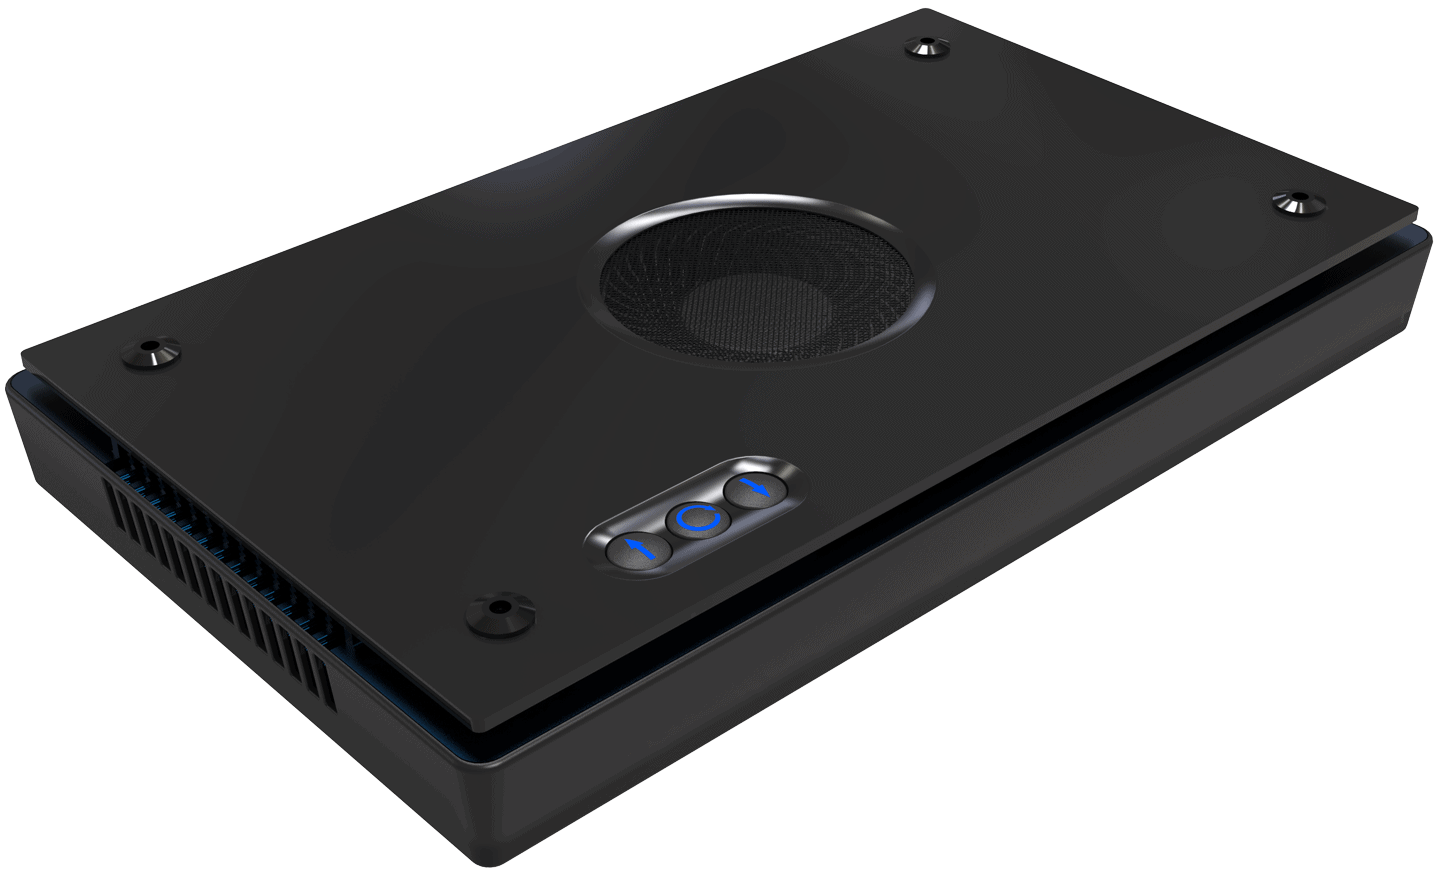
Sirens Speakers Premier Hazard Manufacture And Supply Emergency Vehicle Lighting Led Light Bar And In Car Cctv Solutions

Diy Clay Pot Reindeer Instruction Diy Terra Cotta Clay Pot Christmas Craft Ideas Christmas Crafts Christmas Clay Clay Pot Crafts

Monbonbon Upcycled Repurposed Chic Shabby Chic Crafts Shabby Chic Diy Shabby Chic Bedrooms

12v Universal Intermittent Wiper Timer Relay 5 Sec Delay Motorcycle Wiring Car Audio Installation Electrical Diagram

Pin By Debra Linton On Cake N Cookie Art Cake Alien Cake Alien Vs Predator

Featured Shop Dan Cordero Lampada Fai Da Te Idee Legno Progetti Di Illuminazione

Colorful Pantone Inspired Pop Up Cafe Sets Up Shop In Monaco Eaterclockmenumore Arrow Brace For Color Coded Treats Pop Up Cafe Colorful Cafe Pantone

Cris S Wall Photos In 2020 Fashion Tutorial Doll Making Tutorials Rag Doll Tutorial

My Tv Switches Itself Off Samsung Support Ie
Https Encrypted Tbn0 Gstatic Com Images Q Tbn 3aand9gcthnhu28doh6oliczfyqwfwkmr5zkwnw56bi33npacudv2q33ff Usqp Cau

How To Make A Spectacular Floor Log Lamp Id Lights Recycled Lamp Wood Floor Lamp Wood Lamps

The Easy Way To Fix Abs Faults Youtube

Amber Valley Hawkeye Ultrasonic Parking Sensor System 2 Sensors Digital Display Avprox5300kbf1 Dun Bri Services Ltd
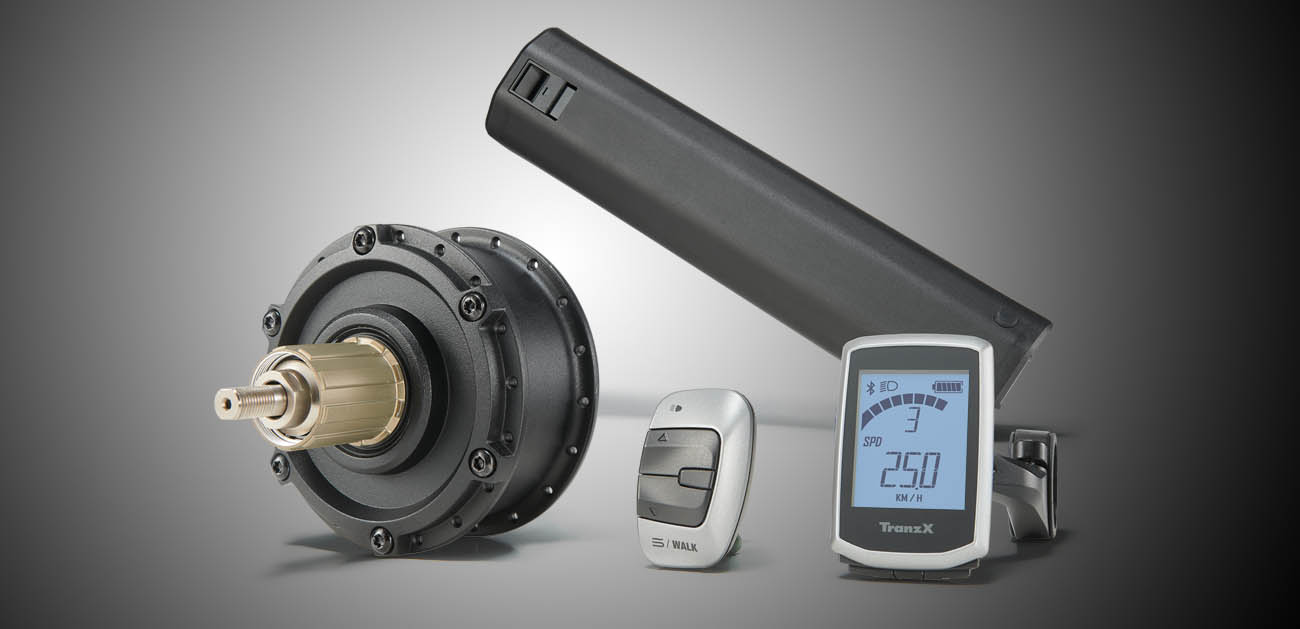
Tranzx Inspring Your Ride

Webasto Air Top Evo 40 Universal Heater Kits Pb Auto Electrics Commercial Leisure Products
Source : pinterest.com
